Multiple Chance Testing as a Gateway to Standards-Based Grading
Autar Kaw
May 6, 2024
Traditional grading may not reflect student learning, which is a common concern. Imagine a large enrollment class that assesses learning via three midterm tests and a final exam, each weighing 25% of the semester grade. If a student scores 46%, 90%, 90%, and 90% on the four assessments, they will have a grade of C at the end of the semester. What are the alternatives? Some speak of using standards-based grading (SBG). So, what is SBG?
What is SBG?
Standards-based grading (SBG) is an alternative method of assessing students. It emphasizes evaluating their mastery of specific learning objectives or standards rather than using points or percentages for assignments and exams. In SBG, students receive feedback on their progress toward each standard and are given multiple opportunities to demonstrate their proficiency. The goal of SBG is to foster a growth mindset where students view learning as a process of improvement rather than a competition for grades.
My reservations about adopting SBG
I considered using SBG in my Numerical Methods class, a required junior-level course in Mechanical Engineering at the University of South Florida. The class typically enrolls 60-120 students per semester. I started watching YouTube videos, reading blogs, and analyzing journal papers on SBG. As I reviewed the many ways instructors use SBG, the idea of implementing it into my courses seemed overwhelming. Some had 30-50 standards in a course, and keeping track of each standard for every student would be overwhelming for students as well as the instructor.
Some instructors were using short quizzes for each standard. Others asked students to master pre-class work, take in-class quizzes, do online homework, and complete short projects. But what happens when they do not master a standard the first time? They can show proficiency via retaking a quiz in specific quiz sessions held during class time, office hours, final exam sessions, etc.
How many chances does each student get to show proficiency in a standard? How does the instructor have quizzes ready to check any standard a student asks for, or is it the same quiz as the one given the first time? Does the latest proficiency level replace all previous ones, or is the highest proficiency used? As per SBG philosophy, it should be the latest score, but many choose the highest. Another tenet of SBG is equity, but how about the student who cannot make it outside of class time, such as office hours, to show proficiency – they may be taking other classes, working off-campus, or caring for a loved one or children? What happens to the class time lost used for re-quizzing? Does it lessen the content covered in the course and reduce the student engagement opportunities for active learning?
Also, since we still use traditional letter grades on transcripts, proficiency in meeting standards must be converted to letter grades during and at the end of the semester. Our students expect to know where they stand during the semester by a total score or letter grade. However, the grade would be complicated for the instructor to calculate as well as the student to follow during the semester, as the grading system involves some combination of having shown a certain level of proficiency in each assessment category, such as pre-class work, quizzes on mandatory and secondary standards, online homework and projects. Not only that, but there is also no average grade during the semester, as one must meet a certain number of standards to get a particular grade, and enough standards have not been covered until one is toward the end of the semester.
However, just because a system is imperfect does not mean one should abandon SBG. Can we adopt a system that would maintain the essence of SBG but be less daunting for a large class and less challenging for students and the instructor?
Standards-Based Testing with a Twist
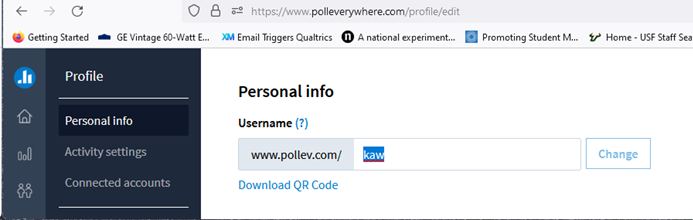
I used a subset of SBG called standards-based testing (SBT), and within that framework, I used multiple-chance testing (MCT) on the midterms and online quizzes with some twists.
The traditional grading system in the course comprised 15% of the learning-management system (LMS) quizzes, three 15% midterm tests, 10% for projects, 5% for a concept inventory, and 25% for a final exam. We used MCT for the LMS quizzes and midterm tests, which is 60% of the grade. In addition, the final exam, a standalone grading component, also counts as another chance test.
The course was divided into eight standards, each a chapter. This division clearly delineated the standard for the student.
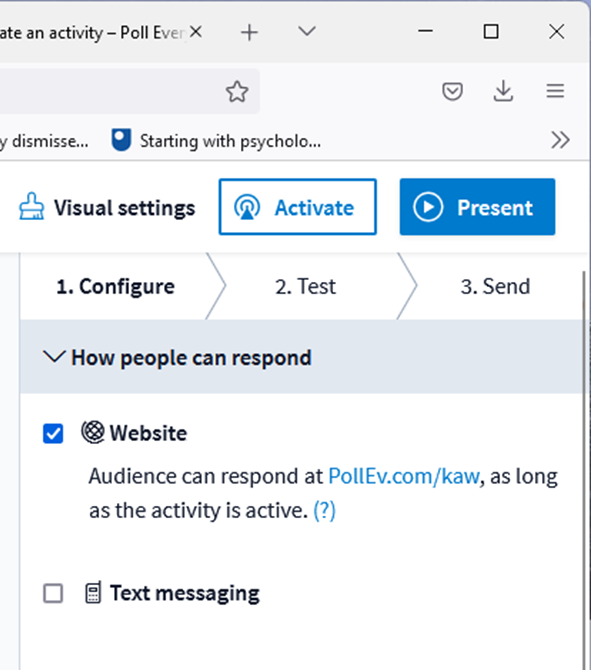
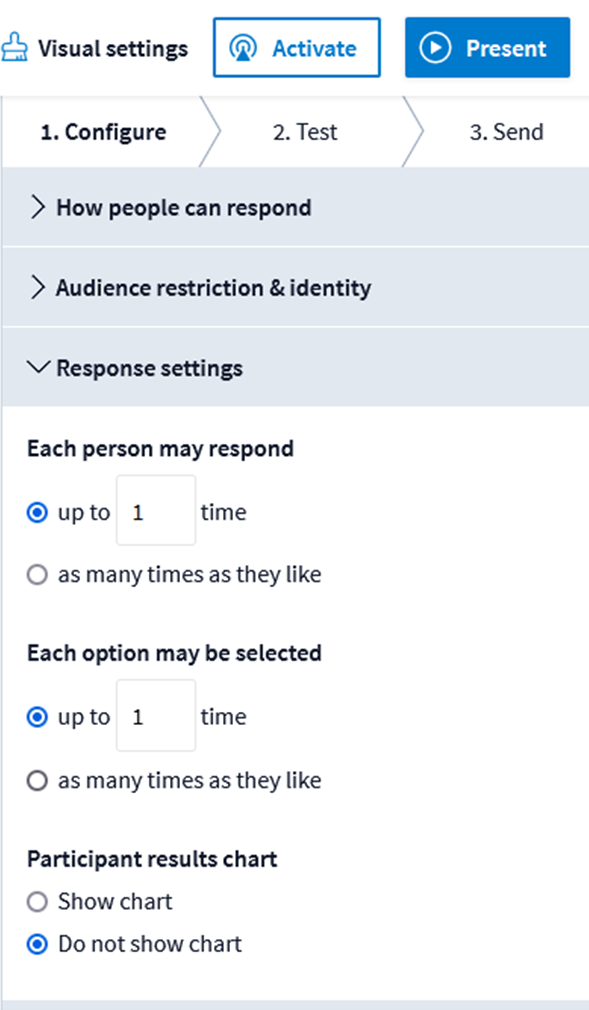
There are 30 LMS quizzes in the semester. Each quiz has three questions, two of which are multiple-choice and one algorithmic. These questions were chosen using question banks I have developed for the course. The students can make as many attempts as they wish before the weekly deadline, and the LMS automatically reports the highest score. If they wanted to attempt them again after the deadline, they could do so till the last day of class and recoup half of the missed grade, e.g., if they scored 6/10 before the deadline and 9/10 after the deadline, their score would be 6+(9-6)/2=7.5/10. If their score after the deadline was lower, their grade on a quiz stayed unchanged.
The semester has three midterm tests, which check 3, 3, and 2 standards, respectively. Checking for multiple standards in a midterm maintains the interleaving effect, where students must figure out which standard the question belongs to. Higher-order thinking exercises can also be given where one standard is a prerequisite for another. Each standard is graded out of 20 or 40 points depending on the length of the chapter. For example, Standard 1 is a 2-week long chapter and is graded out of 40, while Standard 2 is a 1-week long chapter and is graded out of 20. The score for each standard is reported on the graded test. Triple feedback is given to the student on each question asked – the wrong answer is pointed out, how to get to the correct answer is shown, and, more importantly, reference is given to examples and problems the student can attempt to review the material. Students were encouraged to come to office hours for face-to-face or online help.
A second-chance test was given two to three weeks after each of the three mid-term tests. The student could take the retest on any or all the standards of the midterm test that they had just taken. For example, in midterm test one, we had three standards. The retest was given for three standards as separate tests of 25 minutes each (e.g., individual tests were given for Standard 1 from 11 AM to 11:25 AM, 5-minute break, Standard 2 from 11:30 AM to 11:55 AM, 5-minute break, Standard 3 from 12 noon to 12:25 PM). A late policy was implemented that if a student left early during a retest of a standard, a student coming in later than the first person leaving could not take the test. This policy was adopted to maintain the academic integrity of the retest, but we did not need to use it. We also posted the retests on the LMS for students so that they do not just show up to get a copy of the retest.
The student could recoup only half of the missed points, e.g., if they scored 24/40 in the midterm test on Standard 1 and 34/40 in the retest, their score would be 24+(34-24)/2=29/40. If their score in the retest was lower, they were not penalized, and their grade stayed unchanged. If a retest for a standard was taken, the updated score was also limited to 90%. This policy was adopted to avoid highly performing students taking the retest for just gaining a few more points, as their time would be better spent learning new course topics. Although it was not my intention, this policy helped reduce grading efforts. Only 60% of the possible retests were taken in the course.
The final exam was a standalone category in the grade but also a proxy for a third-chance test for all eight standards. Questions from the final exam were allocated to each standard, and the scores were used as third-chance test scores. The scoring update policy was the same as for the second-chance tests. Some would argue that I should have used the final exam session to test for standards that the students wished to get retested in, but the effect of the final exam on long-term retention must not be ignored.
Since we did not have an uncomplicated way to report updated grades to the students, we made a student-friendly Excel spreadsheet where students could enter their grades for all the quizzes and tests they had taken. The spreadsheet calculated the grade without and with the retests. The grade without the retests matched the overall grade reported on the LMS, so students knew their minimum grade at any time in the semester if they did not want to use the Excel spreadsheet. To calculate the final grade, one needs to get the grades from their LMS and use simple spreadsheet functions, but this process can then be automated for later semesters.
The findings when comparing a course with MCT to that without
We compared the student performance and affective outcomes for the course with and without MCT. The findings reported in a journal paper indicated that implementing MCT resulted in a higher percentage of students achieving a high final exam score (15% vs. 3%), a more considerable proportion of ‘A’ grades (36% vs. 27%), and a more positive classroom environment in terms of participation, unity, and satisfaction. During focus groups, students appreciated the enhanced learning experience, the opportunity for retakes, and the reduced stress associated with standards-based testing. A few mentioned the issue of not knowing their ongoing grade in the course. The journal article cited below provides more details of the study’s results.
My questions to the reader are: Would you use multiple-chance testing? How would you implement it differently? How can you maximize the advantages of MCTs and minimize the drawbacks for students and instructors? Do you have a better way of reporting grades in LMS so that the current overall grade is reflected just in time?
References: Autar Kaw and Renee Clark, Effects of Standards-Based Testing via Multiple-Chance Testing on Cognitive and Affective Outcomes in an Engineering Course, International Journal of Engineering Education, Vol. 40, No. 2, pp. 303–321, 2024, https://www.ijee.ie/latestissues/Vol40-2/09_ijee4434.pdf.